Install Ubuntu LAMP (Linux Apache, Mysql Perl) Server on Windows Server using Hyper-V
Install Ubuntu LAMP (Linux Apache, Mysql Perl) Server Windows Server on Hyper-V Easily
Download the LAMP ISO http://releases.ubuntu.com/16.04/
Activate Hyper-V
Create Virtual Machine
You can get your copy of Ubuntu 18.04 official installation media from here, if you want the desktop edition. Once the download is finished open Hyper-V manager (you can search for it from the start menu).
The first thing you will notice is that your host system will show up in the menu under Hyper-V Manager (in my case, the name is set to linux LAMP).
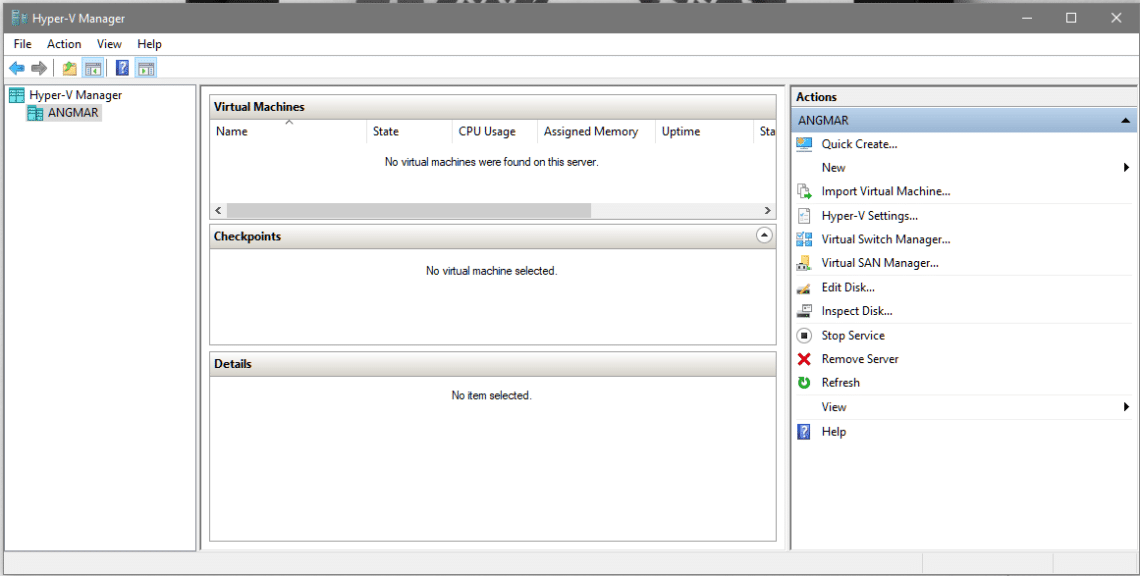
Now on the right hand column you can see an option to which say New. Click on it and select Virtual Machine… from here on it is a simple setup wizard which most PC users are familiar with.
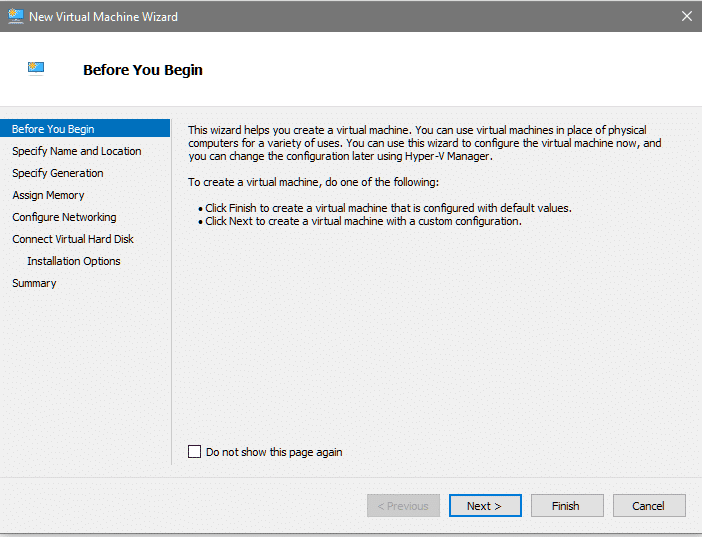
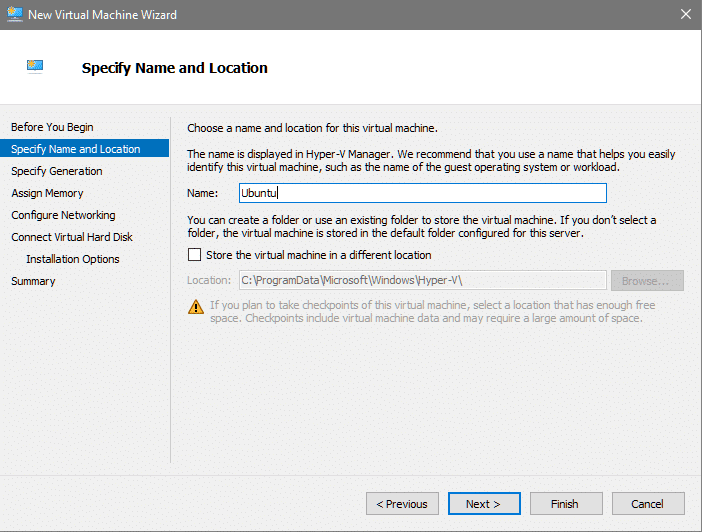
Since we will not be using the Default options, let’s click on Next. Now give your VM a name and the location where you want to store it (we will let it stay at it’s default value) and click Next.
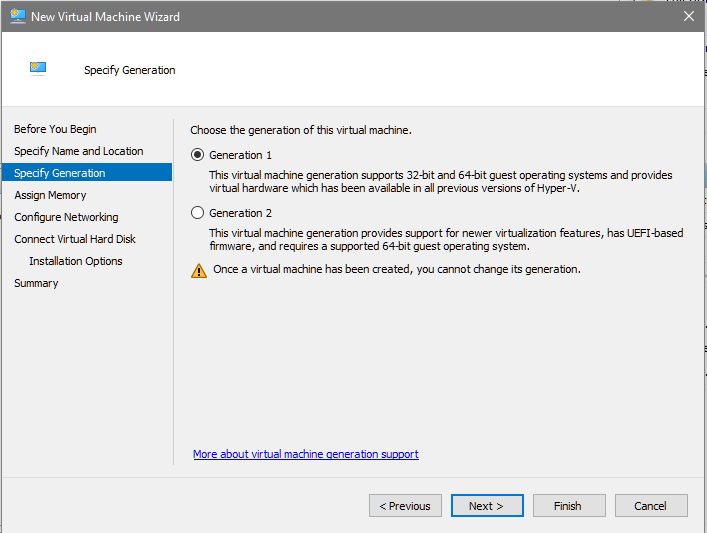
Next we have to select whether the machine is of Generation 1 or 2. Selecting Generation 1 will cover the widest possible use cases, so let’s stick to that.
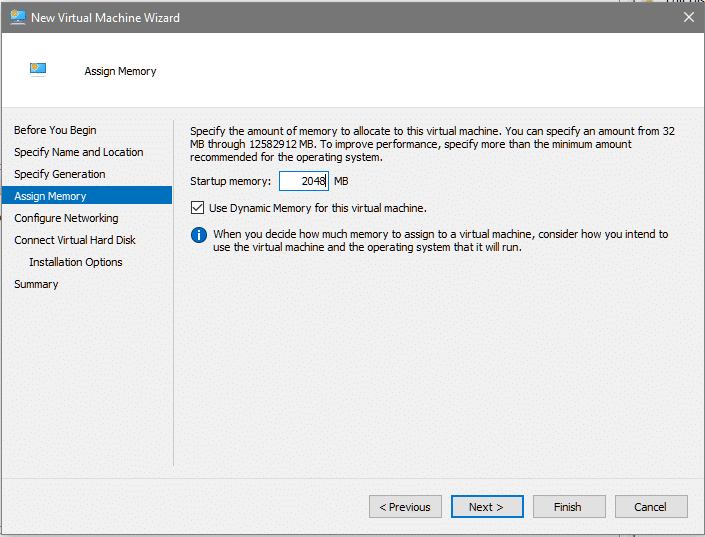
For memory, we can go with 2048MB. If you have a larger RAM, consider allocating more memory.
The next step is to configure networking, you get two options, Not Connected and Default Switch. Because we intend on running updates, and downloading new packages, we will go with the Default Switch option and click on Next.
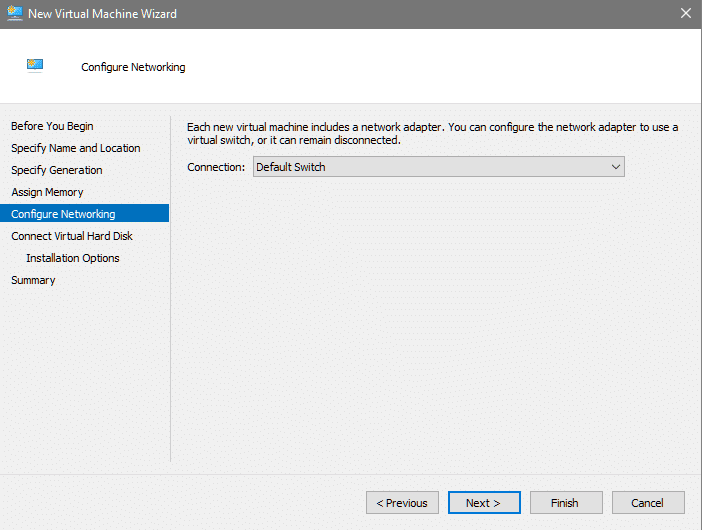
For those who are interested, the Default Switch offers your VM internet connectivity by using the host connection via NAT.
The next step is to connect a virtual hard disk. Here, the default values would work just fine. Although Ubuntu desktop can run on disks as small as 25GB.

The last step is to connect the installation media (the Ubuntu .iso file that we downloaded earlier). Select the option which says “Install an operating system from a bootable CD/DVD-ROM” and then select the Image file suboption, and using the browse option locate the .iso file for Ubuntu installation in your filesystem.
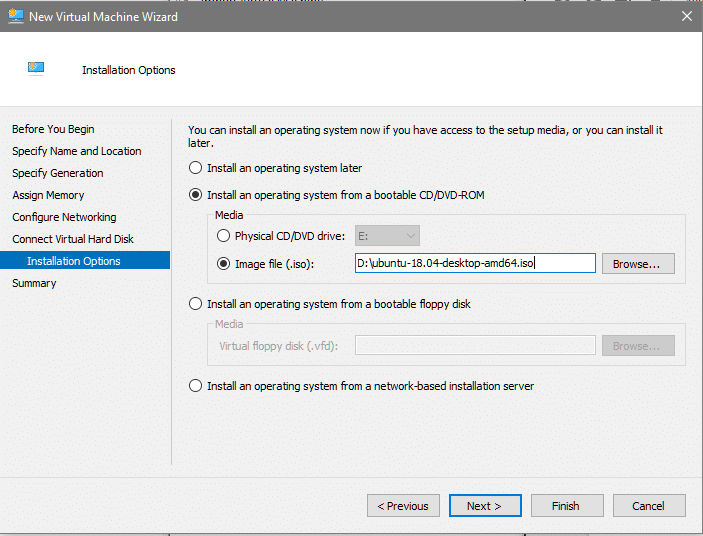
Click next to review your configurations one last time and then Finish to finalize your settings.
Starting and Accessing Your VM
You can now see the newly created VM called Ubuntu in the list of VMs.
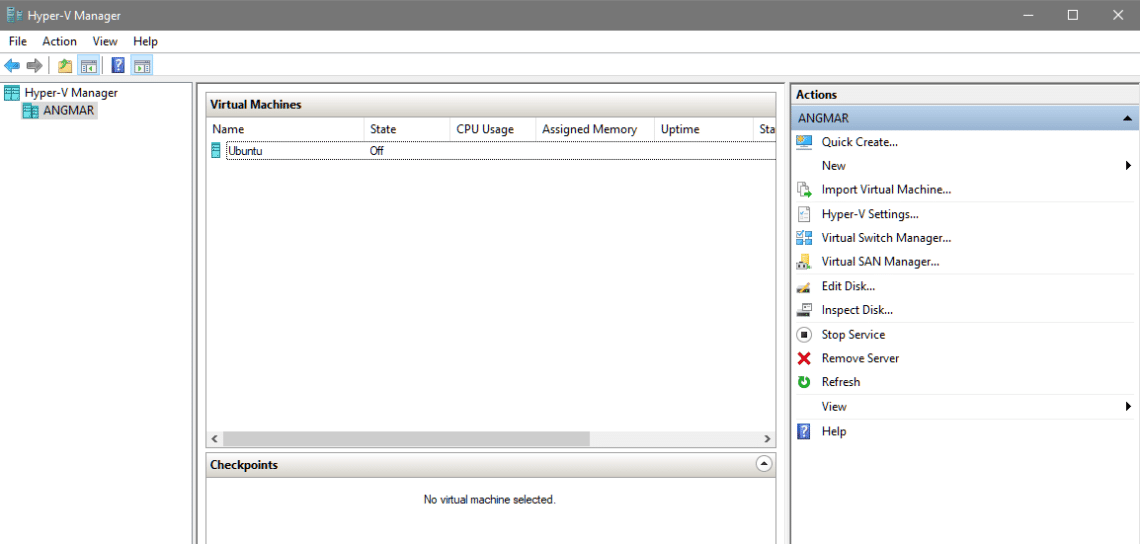
Simply right-click on it and select the Start option to start the VM. You will notice that the Hyper-V manager would start showing up the VM’s resource utilization (CPU and memory usage). But no Window would pop up showing the Ubuntu live CD booting.
The first screen you'll see (Figure A), asks you what language you want to use for the installation (not the server itself). Use your arrow keys to select the correct language and hit Enter on your keyboard.
Figure A
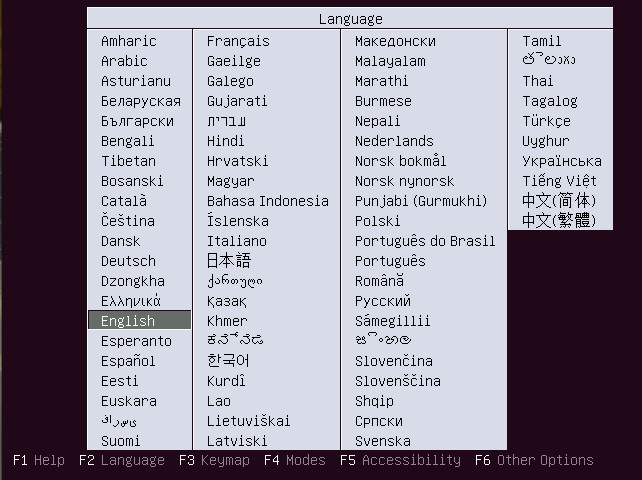
Selecting the installation language.
In the next screen you'll be asked to select what you want to do with the installer, run some tests, boot from the hard disk, or rescue a broken system. Using your arrow keys, select Install Ubuntu Server and hit the Enter key on your keyboard.
The next few screens are as follows:
- Select the language to be used on the server
- Select your location
- Detect keyboard layout (Yes/No)
- Select the country of origin for your keyboard
- Select the layout matching your keyboard
Once beyond these screens, the installer will load additional components (Figure B).
Figure B
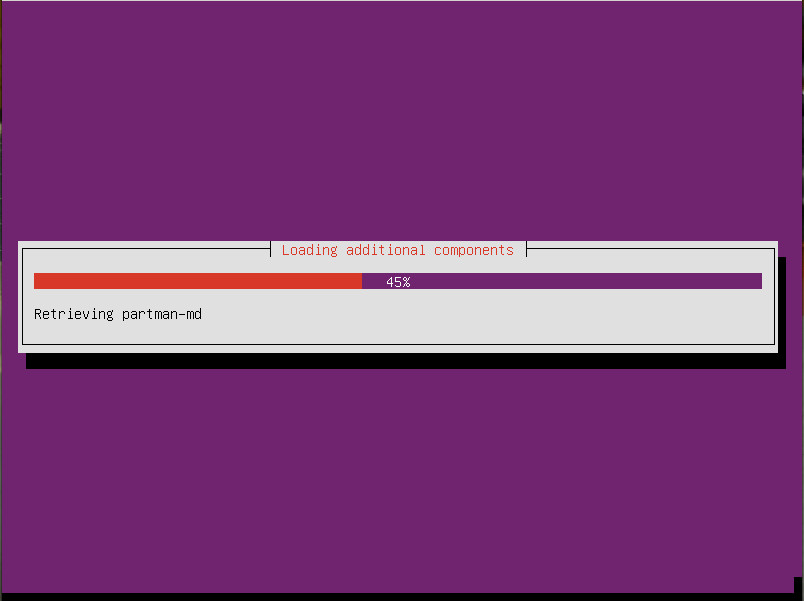
Getting ready for the important bits of the installation.
In the following screen (Figure C), you must set the hostname for the server. If the server will use a Fully Qualified Domain Name (FQDN), enter that. If the server is on a LAN-only network (or will be used for testing purposes), you can make up whatever need here.
Figure C
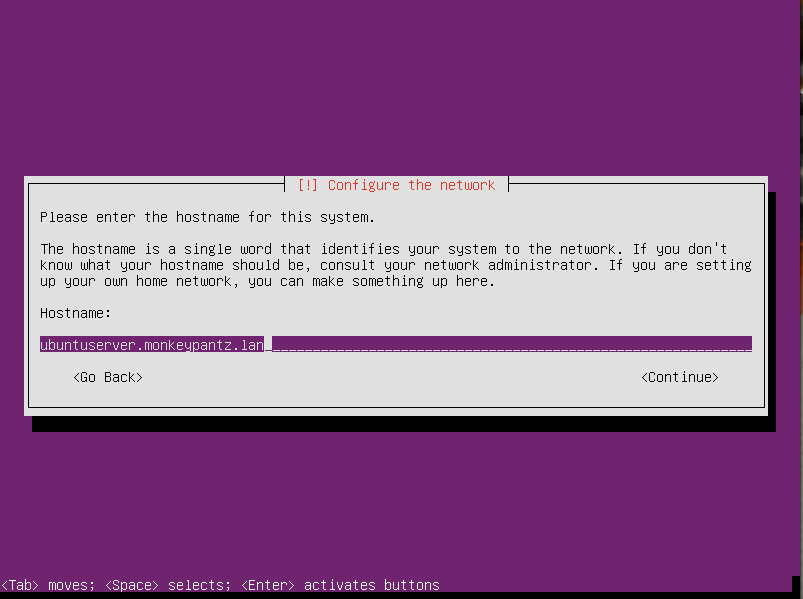
Setting the hostname for your server.
In the next five screens, you must set up a user account. The options are:
- Enter the full name for your user account
- Enter a username for the account
- Enter a password for the user
- Verify the password for the user
- Encrypt the user's home directory (Yes/No)
Now we configure the clock. The installer (for whatever reason) almost always defaults to America/New York. If that's not your location, tab down until No is selected and hit Enter. You can then select your proper time zone.
We finally come to the disk partitioning. Unless you have any special needs, select Guided - use entire disk (Figure D), and hit Enter.
Figure D
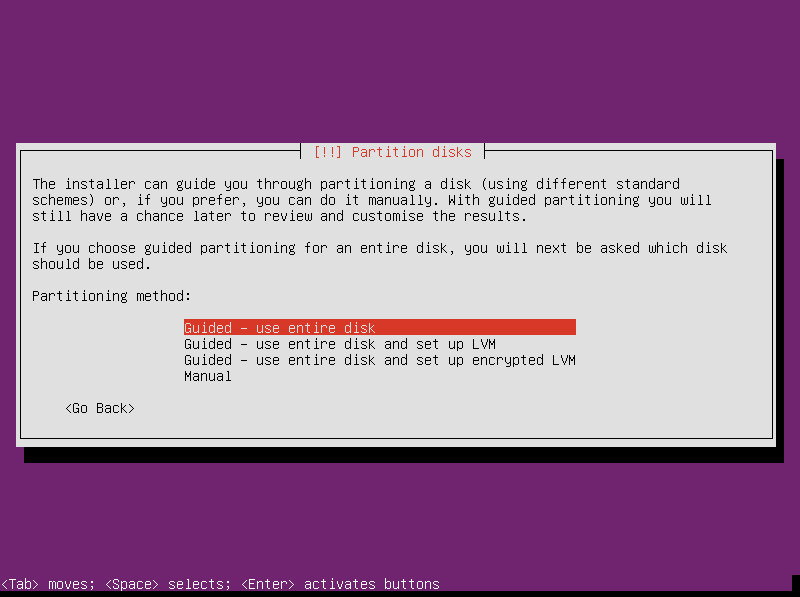
Selecting the partitioning method for our installation.
In the next screen you'll select the disk to be partitioned. If you have more than one disk on the server, make sure to select the correct disk (chances are it will be labeled sda - Figure E) and hit Enter.
Figure E
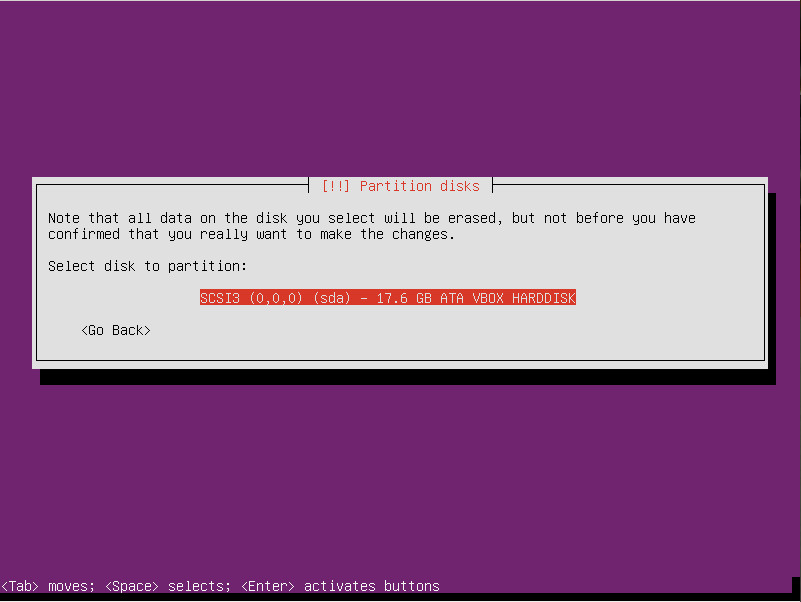
Installing Ubuntu Server as a VM on VirtualBox makes disk selection easy.
You will now be presented with the partition information and asked if you want to write changes to the disk. Tab down to Yes and hit Enter on your keyboard.
After the partitions have been written, you'll be presented with the option to configure a proxy server. If you don't need to use a proxy, leave this blank and tab down to Continue (Figure F).
Figure F
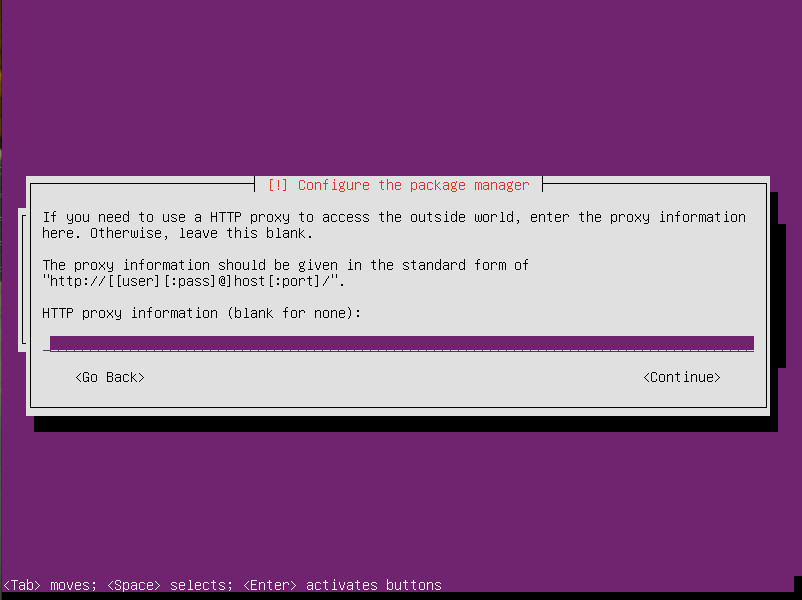
The optional proxy server configuration.
Next the installation will ask how you want to handle updates. You have the following options to select from:
- No automatic updates
- Install security updates automatically
- Manage system with Landscape
I recommend selecting No automatic updates. If you go this route, know that you will have to manually run regular updates.
Finally, we get to select our software. Since we're setting up a LAMP server, you'll want to use the arrow keys to select LAMP server (Figure G) and then hit the Spacebar on your keyboard (to select the option). I would also suggest adding OpenSSH server, so you can remote into the machine for admin purposes.
Figure G
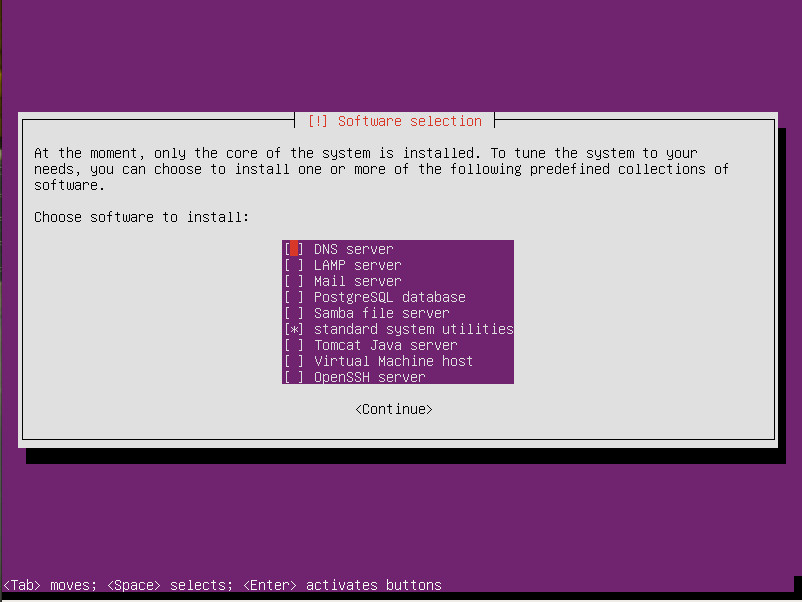
Selecting the software to be included on the server.
During the LAMP installation, you will be prompted to set a MySQL root user password. Do that (and then verify the password) and then the installation may seem to stall out. Wait for it as it detects where to install the GRUB bootloader. You will then be presented with the options for GRUB. If you only have one disk in the server, you can just tab down to Yes and hit Enter. If you have more than one disk, you'll want to make sure to select the correct disk (most likely it will be labeled sda).
And that's it. You will now be prompted to hit Enter to reboot the server. You can then log in with the user account you created during the installation and start using your new LAMP server.
Temp IP Address Schema
Ensure to create a Virtual Network Switch with External in Hyper-V
Change IP Address
Suppose your host windows server is 10.1.168.1
Your virtual external switch address will be 10.1.168.2
Assign IP 10.1.168.6 to ubuntu VM
sudo ifconfig eth0 10.1.168.6 netmask 255.255.255.0Assign Gateway
sudo route add default gw 10.1.168.17 eth0
Start Apache Web Server
For Ubuntu users with versions 16.04 and 18.04 and Debian 9.x users, use the following commands in the terminal window to start Apache:
sudo systemctl start apache2Check status to see whether Apache is enabled with the command:
sudo systemctl status apache2Confirm on web browser HTTP://10.1.168.6:80 if site is up or not
Updating Linux package via proxy:
sudo vi /etc/apt/apt.conf
Acquire::http::Proxy "http://username:password@proxyhost:port/";
Acquire::https::Proxy "https://username:password@proxyhost:port/";
Acquire::ftp::Proxy "ftp://username:password@proxyhost:port/";
In my case is used following:
Acquire::http::Proxy "http://:@proxyhost:port/"; //for no id password
sudo apt-get update
Permanent IP Address Schema
[Match]
# You can also use wildcards. Maybe you want enable dhcp
# an all eth* NICs
Name=eth0
[Network]
#DHCP=v4
# static IP
# 10.1.169.6 netmask 255.255.255.0
Address=10.1.169.6/24
Gateway=10.1.169.17
DNS=10.0.12.8
Move your previously used /etc/network/interfaces to /etc/network/interfaces.save. The file is no longer needed (for eth0). If some other NICs defined there leave it and just remove all entries regarding to eth0.
1 | root@debdeb:~# mv /etc/network/interfaces /etc/network/interfaces.save |
and enable systemd-networkd unit
1 | root@debdeb:~# systemctl enable systemd-networkd.service |
(OPTIONAL) Define DNS Server. You can add the DNS Server either in the Network section of the NIC adapter config (see above) or in /etc/systemd/resolved.conf
Create a symlink
1 2 | root@debdeb:~# mv /etc/resolv.conf /etc/resolv.conf.saveroot@debdeb:~# ln -sf /run/systemd/resolve/resolv.conf /etc/resolv.conf |
and enable systemd resolver
1 | root@debdeb:~# systemctl enable systemd-resolved.service |
Configuring SSH
- Type sudo apt-get install openssh-server
- Enable the ssh service by typing sudo systemctl enable ssh
- Start the ssh service by typing sudo systemctl start ssh
- Test it by login into the system using ssh user@server-name
- Vinod Kotiya

Comments